In this walkthrough we are going to look at installing and configuring MySQL to work with PHP on an IIS 6.0 web server. If you have not already installed PHP you can do so by following the steps in
this article.
Installing MySQL on the Server
Start by downloading MySQL. You can get the latest stable release version here :
http://dev.mysql.com/downloads/mysql/5.0.html
In this tutorial I am going to be using the Windows Essentials (x86) version which has all the core functionality you need to run a MySQL database server. Launch the mysql-essential-5.0.26-win32.msi installer file to start the MySQL Setup Wizard.
- 1.PNG (62.73 KiB) Viewed 3531 times
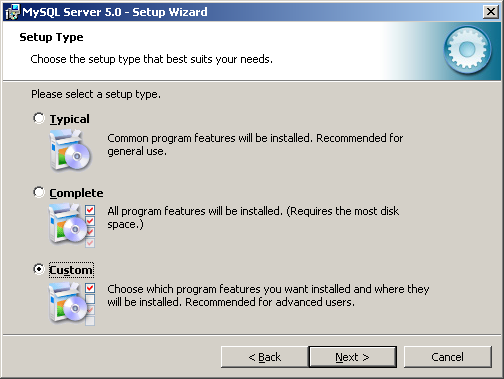
Click Next and then choose a custom installation as this will allow us to specify an installation directory of our own choosing. In this example I will be using installing MySQL into the ‘C:\MySQL’ folder.
- 2.PNG (29.27 KiB) Viewed 3531 times
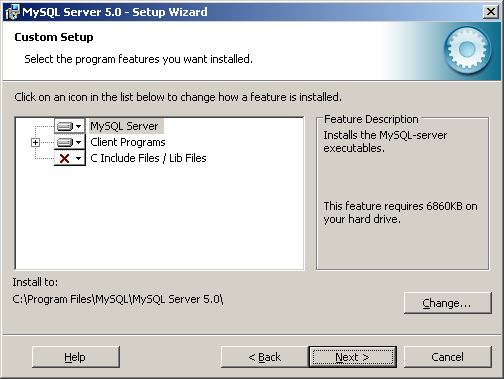
On the Custom setup dialog box click Change to specify the preferred installation directory.
- 3.PNG (21.34 KiB) Viewed 3531 times
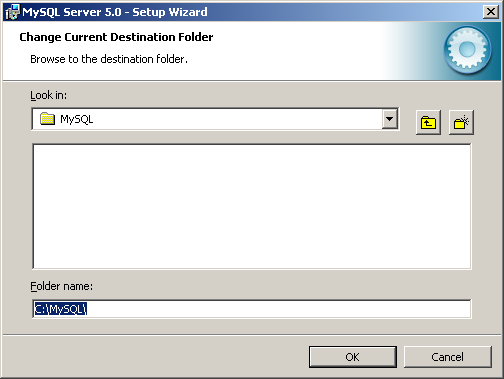
Select the directory you want to use and then click OK to go back to the Custom setup dialog box.
- 4.PNG (17.19 KiB) Viewed 3531 times
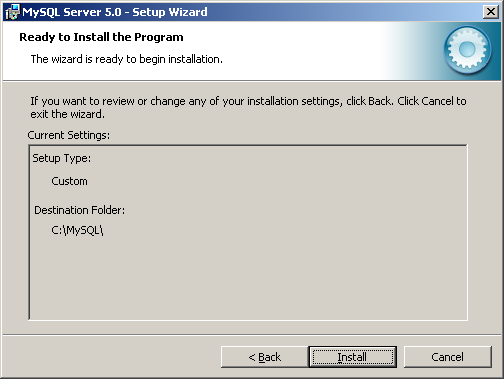
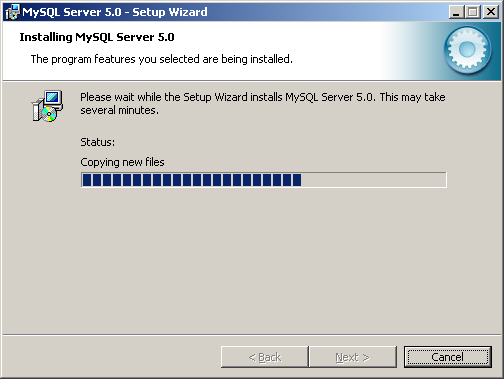
Click next. MySQL is now ready to be installed. Click Install to begin the installation.
- 5.PNG (18.42 KiB) Viewed 3531 times
- 6.PNG (19.05 KiB) Viewed 3531 times
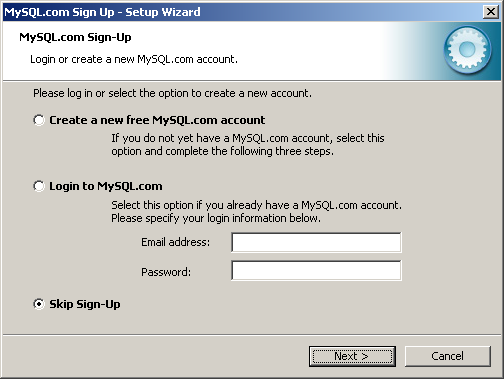
At the MySQL.com Sign Up screen click Skip Sign-Up and then click Next.
- 7.PNG (20.46 KiB) Viewed 3531 times
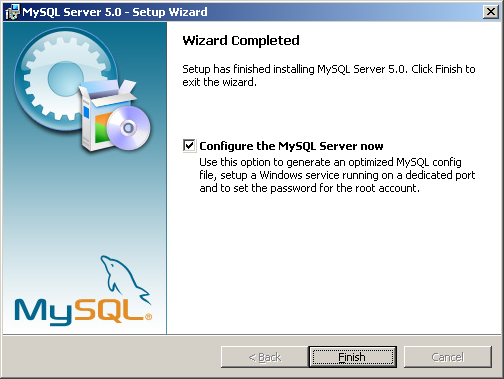
On the next dialog box ensure that ‘Configure the MySQL Server now’ tick box is checked and click Finish.
- 8.PNG (63.42 KiB) Viewed 3531 times
The Server Instance Configuration Wizard is now launched. Click Next to begin configuring your MySQL server.
- 9.PNG (58.58 KiB) Viewed 3531 times
Choose Detailed Configuration and click Next.
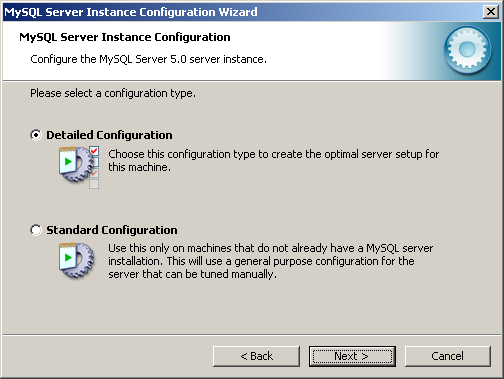
- 10.PNG (27.05 KiB) Viewed 3531 times
In this example I am installing MySQL on the same machine as my IIS web server so I opt for the Server Machine option. Choose a server type which is appropriate for your requirements and click Next.
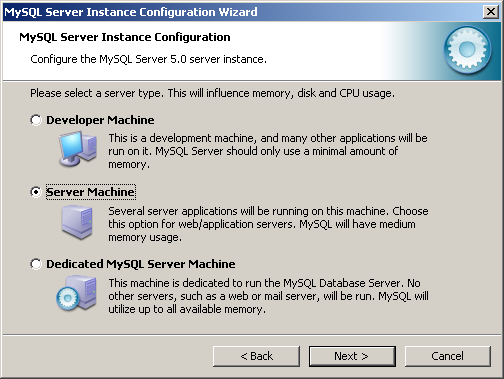
- 11.PNG (31.4 KiB) Viewed 3531 times
Choose the type of database which best suits your needs and click Next.
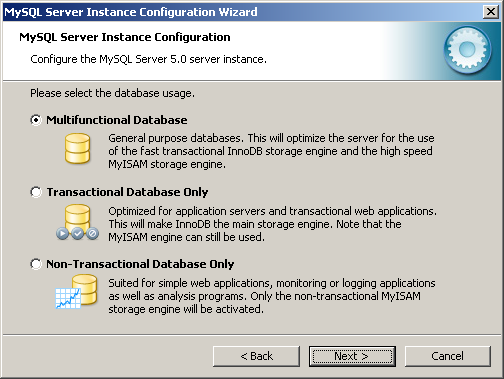
- 12.PNG (29.13 KiB) Viewed 3531 times
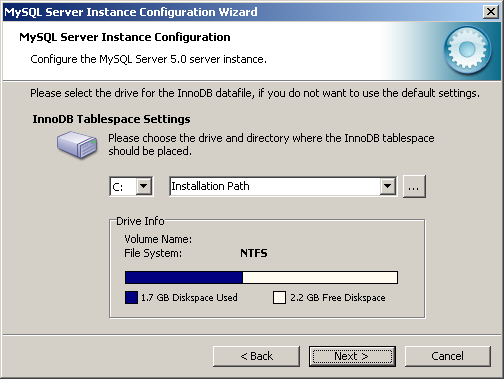
Leave the default setting of the MySQL installation path for the InnoDB Tablespace settings (unless you wish to change it) and click Next.
- 13.PNG (23.41 KiB) Viewed 3531 times
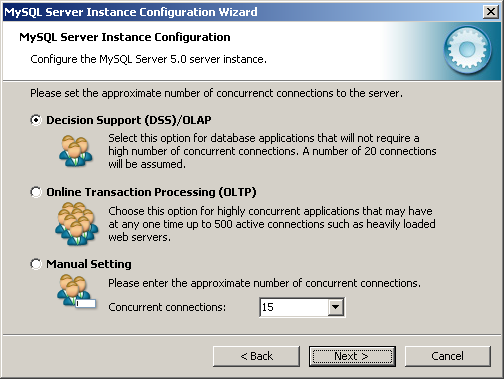
Select the appropriate number of concurrent connections you want to allow and click Next.
- 14.PNG (28.61 KiB) Viewed 3531 times
Leave the default networking options settings (unless you have reason to change them) and click Next.

- 15.PNG (24.3 KiB) Viewed 3531 times
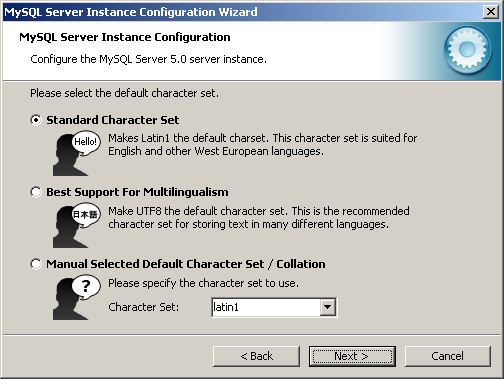
Choose the appropriate character set for your requirements and click Next.
- 16.PNG (25.6 KiB) Viewed 3531 times
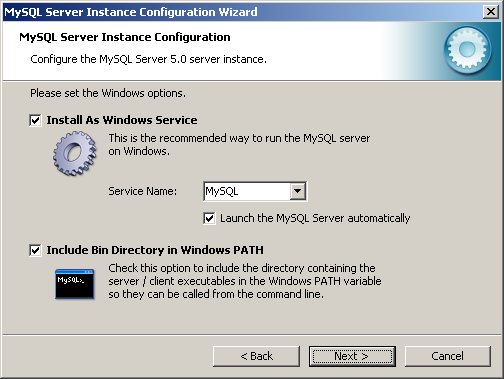
On the Windows options dialog box ensure that both ‘Install As Windows Service’ and ‘Include Bin Directory in Windows Path’ tick boxes are selected and click Next.
- 17.PNG (25.45 KiB) Viewed 3531 times
In the security options dialog box ensure that ‘Modify Security Settings’ is ticked and type in your new root password. Decide whether or not you wish to allow root access from remote machines or create an anonymous account and click Next.

- 18.PNG (22.59 KiB) Viewed 3531 times
If you are happy with the choices you have made click Execute to begin configuring your server.
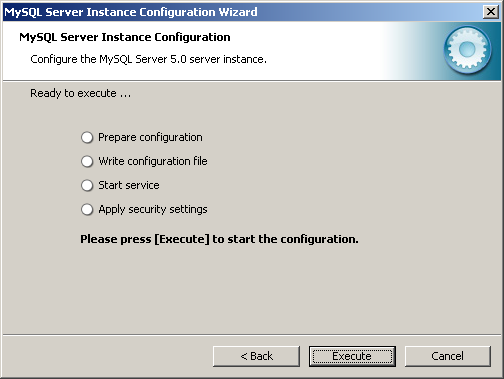
- 19.PNG (19.67 KiB) Viewed 3531 times
Once the Configuration Wizard has finished click Finish to begin using your new MySQL server.
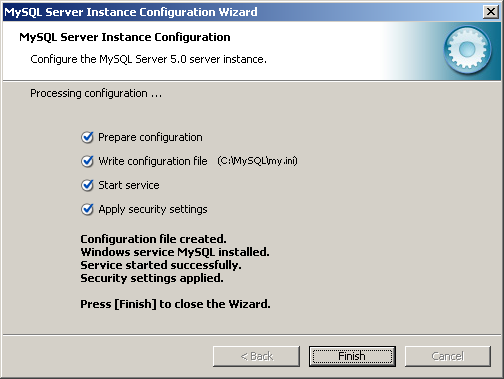
- 20.PNG (21.85 KiB) Viewed 3531 times
Now that we have got MySQL installed we need to create a test user account which we will use later in this walkthrough to test connectivity to MySQL from a PHP script. Start by opening the MySQL Command Line Client. When prompted enter your root password and hit enter.
Type the following SQL command and hit enter :
CREATE USER ‘phptest’@'localhost’ IDENTIFIED BY ‘phptest’;
Then type this SQL command and hit enter :
FLUSH PRIVILEGES;
Now type this SQL command and hit enter :
SELECT Host, User, Password FROM mysql.user;
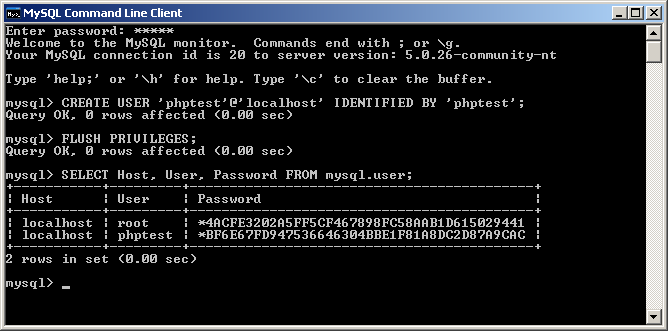
- 21.PNG (16.1 KiB) Viewed 3531 times
As you can see we have now created a new MySQL user account called ‘phptest’ with a password of ‘phptest’. This user account can log in to MySQL but has not been granted any permissions on any of the existing schema or databases.
Configure PHP for MySQL Connectivity
Now that we have got both PHP and MySQL installed on the server we can move on to the job of getting PHP connected to MySQL.
The first thing we need to do is enable the MySQL extensions for PHP to use. To do this locate the Dynamic Extensions section of your ‘php.ini’ file and either uncomment or add the following lines to the top of the existing list of extensions :
extension=php_mbstring.dll
extension=php_mysql.dll
extension=php_mysqli.dll
You may find that the line referencing php_mysqli.dll is not in your php.ini file - if not you will need to add it to the list. Once you have done this save the changes in the ‘php.ini’file and then either recycle your PHP web site’s application pool or perform an IISReset for the changes to take effect. If you now browse the
http://localhost/index.php file we created in the first article you should see that support for MySQL is now enabled.
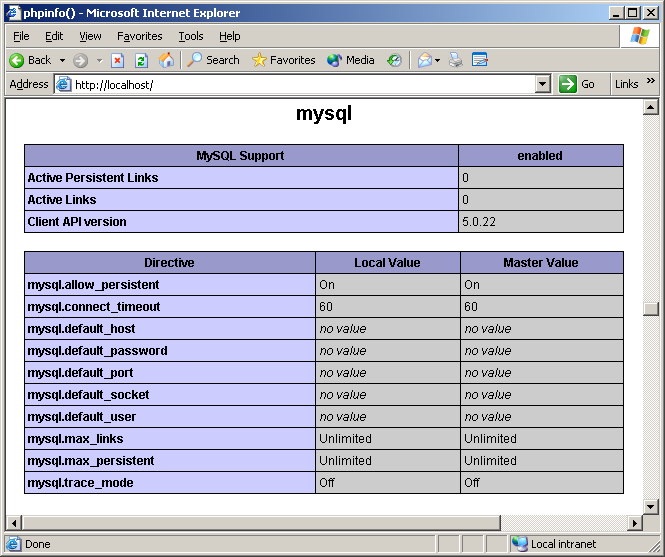
- 22.PNG (31.82 KiB) Viewed 3531 times
We are now ready to go ahead with a simple test script to ensure everything is setup correctly. Start by creating a new text file in Notepad in the root of your PHP test web site and then type in the code shown here :
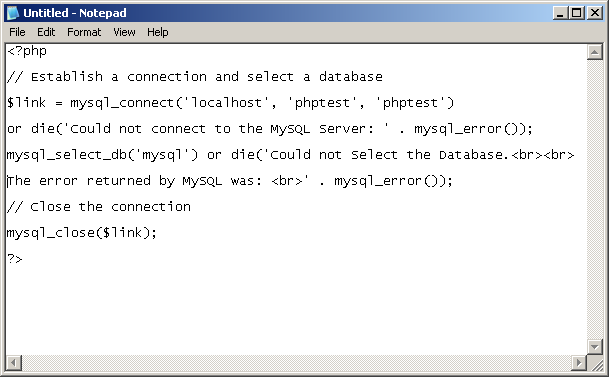
- 23.PNG (14.1 KiB) Viewed 3531 times
Alternatively, you can download the file from here :
Save the file as dbtest.php and then browse to
http://localhost/dbtest.php on your server. You should see the error message shown below.
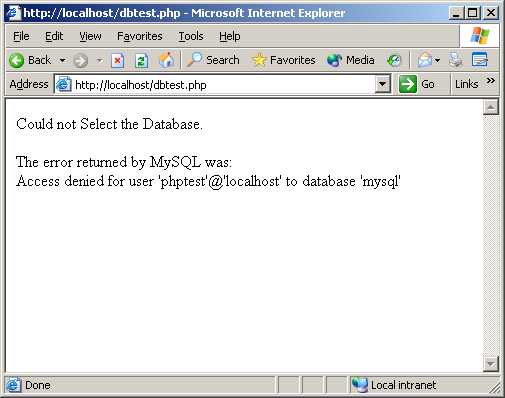
- 24.PNG (21.1 KiB) Viewed 3531 times
This indicates two things. First, that we have successfully connected to MySQL from our test PHP script and second, that the user account we specified in our connection string does not have sufficient privileges to access the ‘mysql’ system database.
So you should now have a working installation of PHP and MySQL running on your IIS 6.0 server. In the final article in this series I will demonstrate how to install WordPress on an IIS 6.0 web server.


 dbtest.zip